THE EASIEST APPLE TART (PROMISE!)
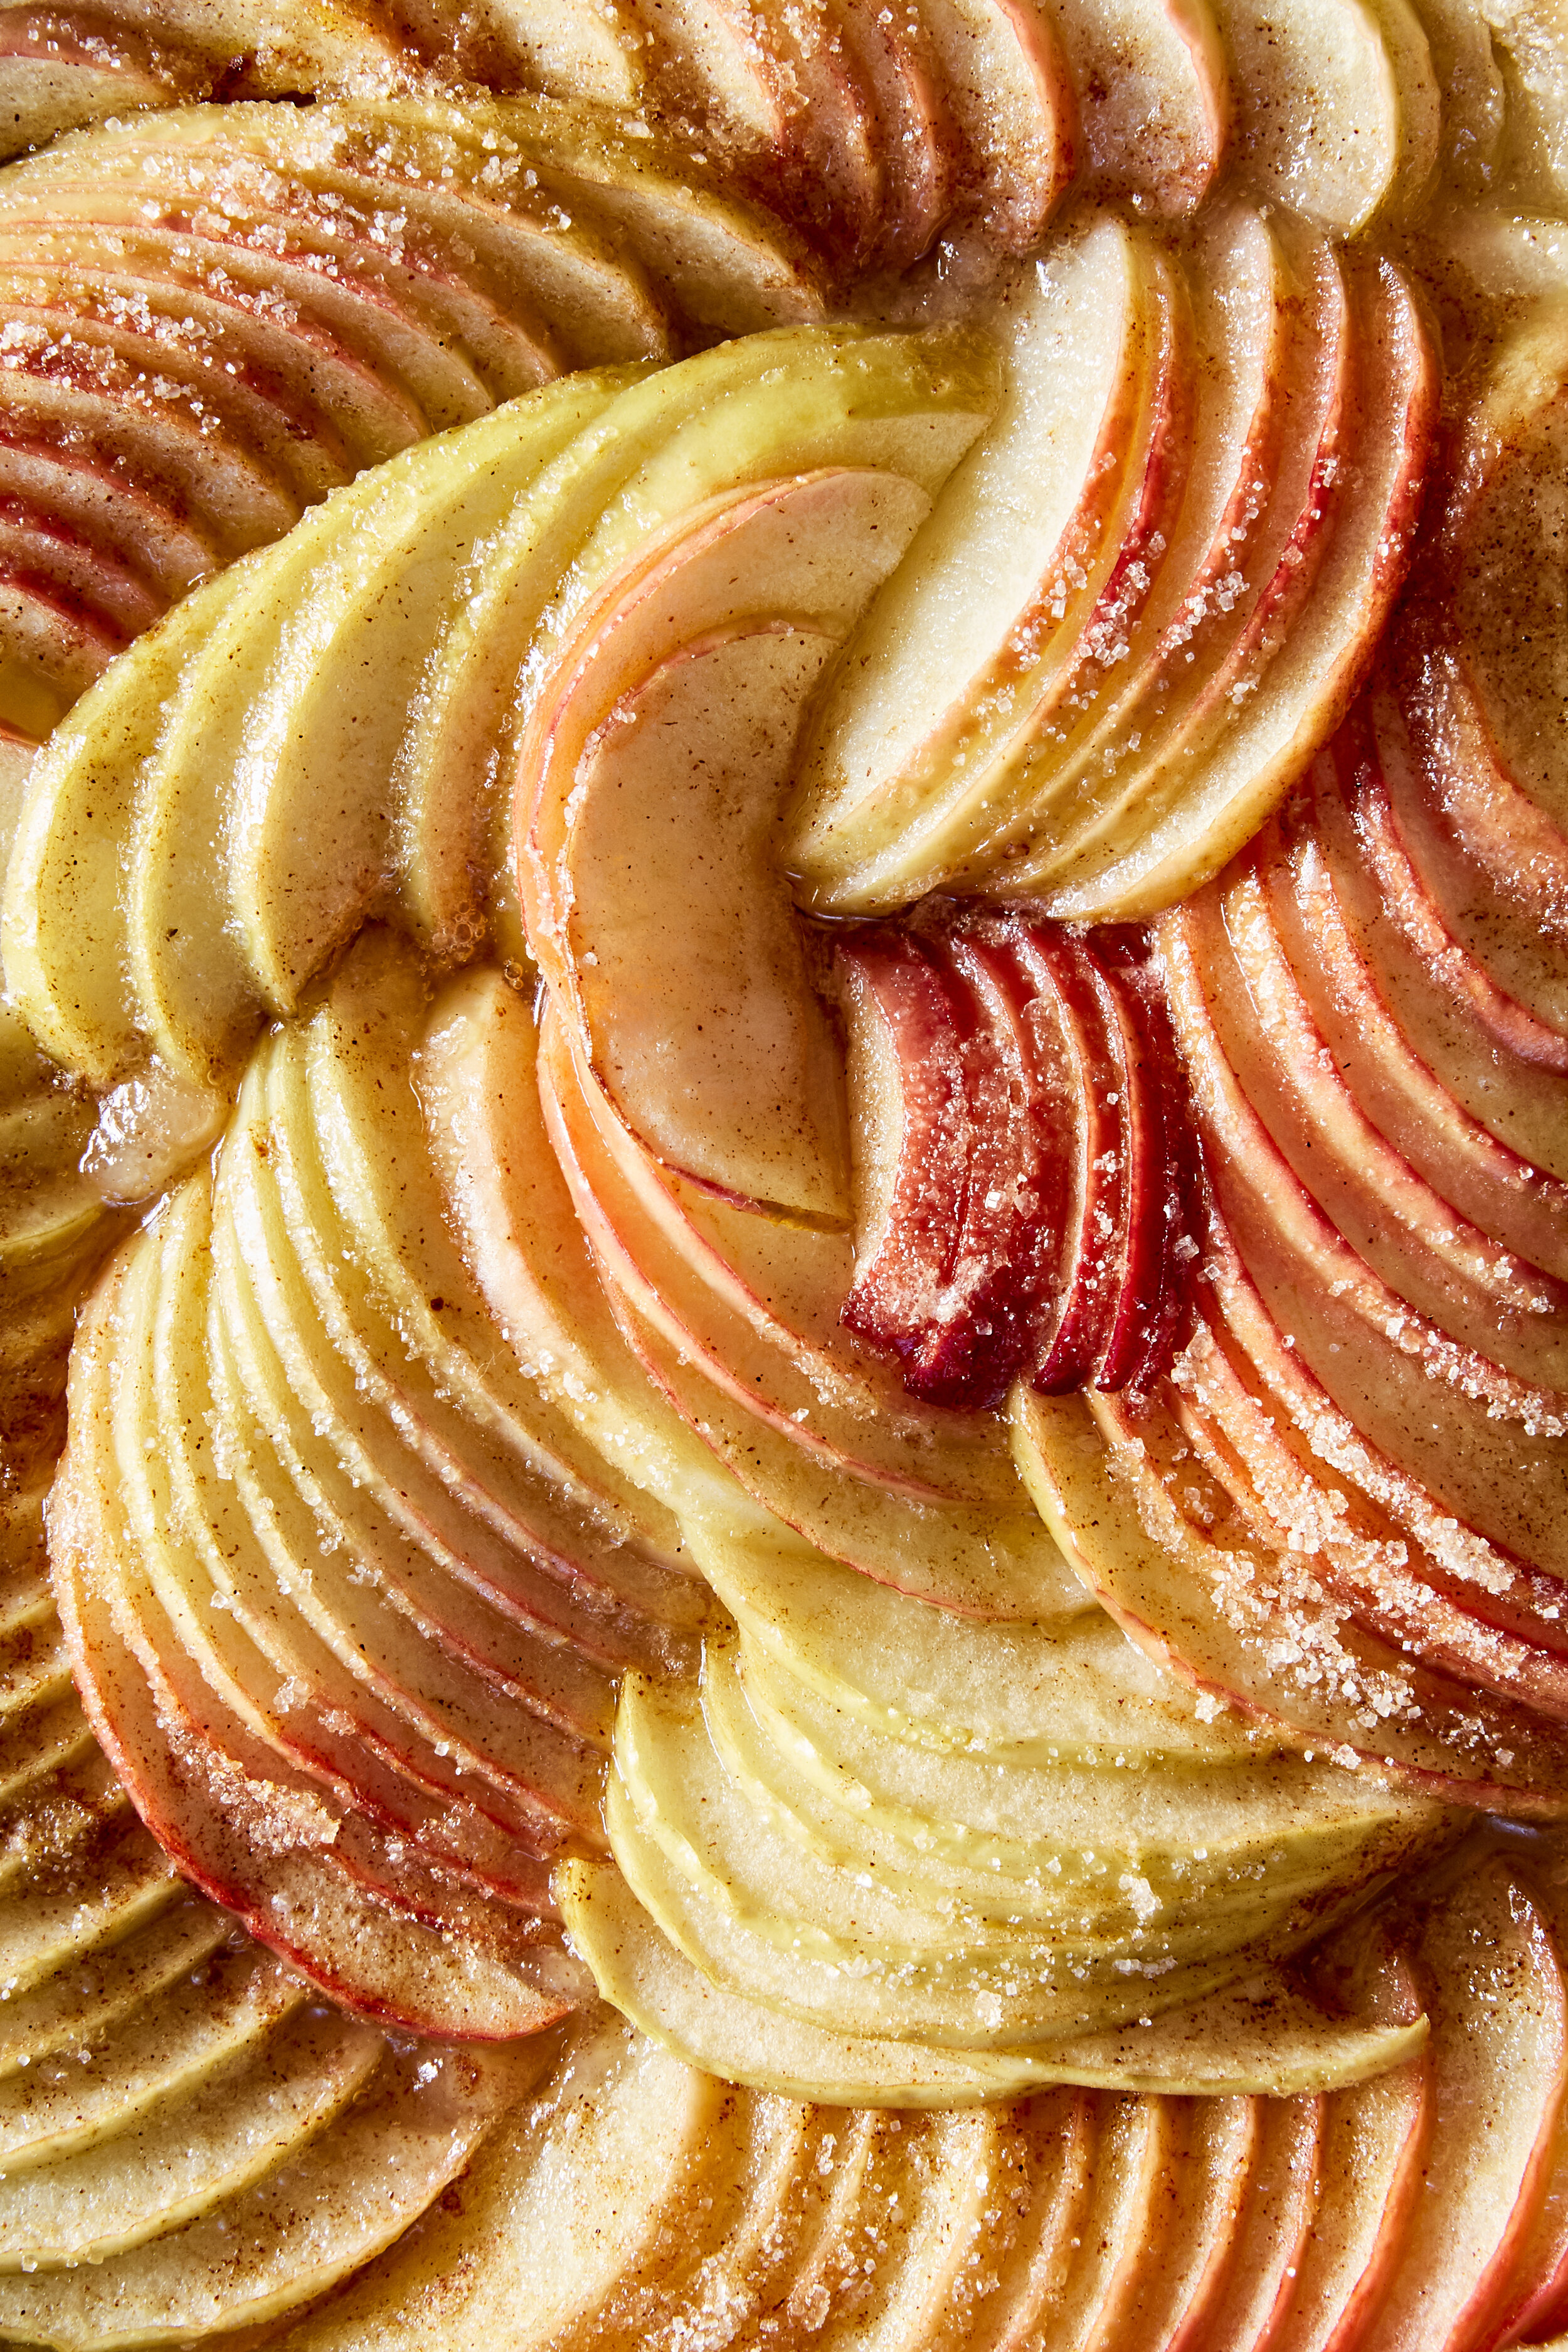
Every time I make or post this Easier-Than-Pie-Warm-Apple-Tart, from my book, Every Day is Saturday, people who don’t believe they are good bakers sigh and say—that’s so beautiful! If only I could make a tart that beautiful.
Oh, but you can! When I tell you this is the easiest dessert I make all year long, I am not exaggerating! It uses the same press in crust ratio I’ve been using for a decade, slightly updated to be gluten-free (though, you can use any All-purpose flour you love), and a thin layer of sliced tart apples, shingled and stacked in pretty designs.
It’s the design that stumps people, but don’t let it. Pack as many apples as you can inside. I simply slice the apple into four cheeks, set them inside the crust and shift them to the side to fan them slightly, then turn the next batch the opposite way for a ripple effect. Don’t get stuck on the details, just make it, have fun and (since this is truly simple and easy), you have every excuse to practice till it feels perfect to you.
RECIPE, BELOW.
EASIER THAN PIE WARM APPLE TART
reprinted with permission from Every Day is Saturday
¾ cup (6 oz/165 g) melted butter
¾ cup (2.5 oz/ 90 g) almond flour
¾ cup (105 g) all purpose or (117 g) gluten free flour
⅓ cup (65 g) sugar, divided
1 tsp vanilla extract
Pinch sea salt
Pinch freshly ground black pepper (optional)
4 medium (about 1 ½ pounds/680 g) crisp, tart apples such as ginger gold, jonathan
¼ tsp cinnamon
¼ cup (55 g) butter, cut in cubes
1 tsp lemon juice
Toppings:
pistachios, herbs, or rose petals, optional
Whipped cream or ice cream, for serving
To make the crust, stir together the melted butter, almond flour, gluten-free flour, 2 Tbsp of the sugar, vanilla, salt and pepper to make a sandy paste. Press into the bottom and up the sides of a 9-inch tart pan with a removable bottom (a 9-inch springform pan will work, if that’s all you have). Chill in the freezer while you preheat the oven, 20 to 30 minutes.
Preheat the oven to 400°F/200°C /gas 6 degrees F.
Meanwhile, cut the cheeks of the apples off the core into four pieces (each piece will have one large flat side). Lay them on their flat side and thinly slice each piece, holding them together in their shape as you go. Arrange the slices around the tart in any pattern you desire, fanning the apples just a bit; use them all, even if you have to squeeze some of the slices in; (don’t overthink it, it doesn’t have to be perfect!) Sprinkle evenly with the remaining sugar, and cinnamon and dot with the butter.
Bake on the bottom rack until the crust is toasty and golden and the apples are tender, 35 to 40 minutes. Sprinkle with lemon juice, and any additional garnishes you desire. Serve with whipped cream or ice cream.
Prep time: 15 minutes
Total time: 1 hour
Serves 6
Get Ahead:
This crust keeps, unbaked and well-wrapped in the freezer, for up to 3 weeks. After serving your gorgeous tart, and before you store away your clean tart pan, make and press in another crust. Wrap well in plastic film and freeze to have on hand as a head-start for surprise company.
Good To Know:
I always use firm, tart local apples with beautiful skins for this tart--either red or golden-yellow. You can adjust the amount of lemon you include to how tart your apples are--starting with 1 tsp. I never use granny smith for this; the skin is too tough.
Gluten-Free, Or Not
I use almond flour and gluten-free flour blend for the crust, so it’s both tender and nutty, and completely gluten-free. This works equally well with all-purpose flour, if that’s what you have and use at home.
** recipes and images belong to Sarah Copeland and should not be used or pinned without attribution. **
STYLING // SARAH COPELAND
PHOTO // GENTL + HYERS


